In WPF the implementation of a Control is separated into program logic and appearance of the UI. While the program logic is implemented in a code file, the appearance is defined with XAML. This XAML is referred to as ControlTemplate.
Each WPF Control with an UI must have a default ControlTemplate. The WPF Control class defines a property ‘Template’ of type ControlTemplate which can be used to set a new ControlTemplate. Because of this very important property we can change the appearance of every WPF Control that derives directly or indirectly from Control.
If you want to change the appearance of a WPF Control you have two options:
- Create a new ControlTemplate from scratch
- Use the default ControlTemplate and modify it
I always use the second approach. The reason is that a Control’s implementation requires some elements in the ControlTemplate to be available and have a distinct name (these element usually have a name that starts with ‘PART_’). The Control’s implementation will walk up the visual tree and find the elements. If the elements aren’t there because you forgot to define them or used a wrong name, the Control’s logic may break.
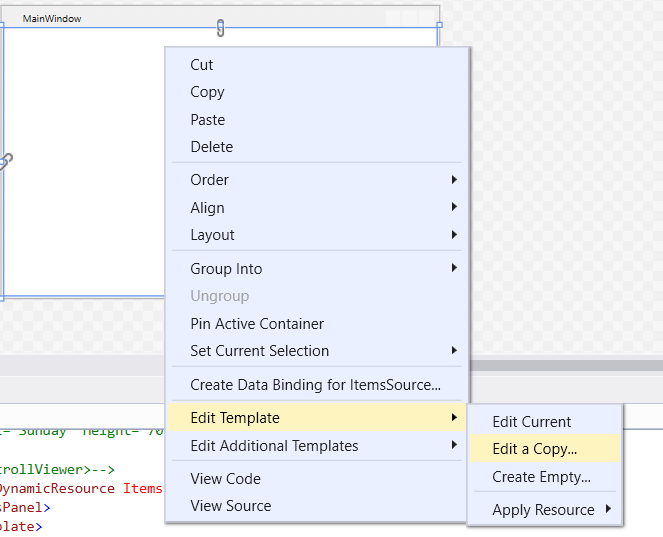
You can create the default ControlTemplate using Visual Studio. You simply need to right click the WPF Control you want to modify and choose the context menu entry ‘Edit Template/Edit a copy” as shown below:
Please have a look into the chapter Custom Control Templates to see some examples on how to implement your own Control Templates.
See this article if you want to see how to implement a Circular Button Control just by modification of the ControlTemplate. There is no need to change the program logic.